link parties

Friday, November 5, 2010

accordion book craft


Sitting on my desk is a READY-TO-GO accordion book.

Last year I purchased 25 Accordion Blank Board Books, as a donation to my daughter’s preschool classroom. I gave them to the teacher and asked “Do you think you could use these for something?”

I didn’t give her any suggestions on what she could possibly do, just to see what she might come up with. I was surprised, along with the rest of the parents, at the end of the year “graduation” with a gift from the teachers, an accordion photo album, highlighting big events throughout the school year. There are photos of Livi with Santa, at the pumpkin patch, a class photo of all the children in their Halloween costumes, the fire station field trip (a photo of Livi and a firefighter spraying the fire hose, priceless), the St. Jude’s Trike-a-Thon, and they even had the kids do handprint turkeys. It is such a nice remembrance of my daughter Livi’s preschool year.

The best part of it was something that was completely unplanned by the teachers. When you fold the accordion in, you can see at the same time a photo of your child from the first day of school along side of a photo of your child at the end of the year, both photos include your child’s height. Almost every child grew 2 inches and they all transformed from toddlers at the beginning of the year, into young children ready for kindergarten at the end of the year. It is so amazing to see this change in a single school year!

Thursday, November 4, 2010

sock puppet fun!

super-hero-bolg

This is a really fun rainy day activity and you probably already have all the supplies you need. Get out your scraps of fabric, felt, yarn leftovers, sequence, buttons and any other fun accessories.

We used socks, felt, yarn, googly eyes, fabric, beads, chenille sticks and adhered with fabritac.

The cape for Super Hudson is just a piece of felt turned over a piece of yarn and glued down. The mask is a rectangle piece of felt with a piece of chenille stick wrapped around a googly eye.

The hair for both puppets was made in the same way. Tie a piece of yarn into a hoop. Then take pieces of yarn and tie them around that piece at whatever length you want them to be. You can always trim after you glue it down.

We thought of all kinds of ideas for the puppets we could make like: bugs, flowers, clowns, dogs, cats, dinosaurs. We even thought about making puppets to re-enact a story like Little Red Riding Hood or Goldilocks and the Three Bears. In the end, my children (being a typical boy-boy and little princess) chose to make a super hero and a princess, not surprisingly.

Wednesday, November 3, 2010

Chewy Andes Peppermint Crunch Cookies

I'm in the mood for baking. We went to a friend's house for dinner and her husband made the best cookies ever!  See the recipe below.

I just love this artist. Her paintings are so colorful and happy. They really make you feel good. This one in particular makes me think of my family. We just need to add a baby and a little boy.

Check out her website for more amazing representations of Latina woman and settings. http://www.carterholman.com/


Chewy Andes Peppermint Crunch Cookies


1 cup unsalted Butter, softened

1 cup Dark Brown Sugar, packed

1/3 cup granulated Sugar

1 large Egg

2 teaspoons Vanilla Extract

1/2 teaspoon Baking Soda

1/2 teaspoon Salt

1 3/4 cups Flour

1 cup old fashioned Oats

1 cup sweetened Flaked Coconut

1 1/2 cups Andes® Peppermint Crunch Baking Chips(mix to taste) and chocolate chips

1 1/4 cups chopped Pecans

Preheat oven to 300 degrees F. Cream the butter, brown sugar, and granulated sugar until fluffy (about 3 minutes). Beat in egg and vanilla extract. On low speed, add baking soda and salt, and then flour. Mix completely. Stir in oats, coconut, pecans, and Andes baking chips. Measure out 2 teaspoons for large or 1 tablespoons for small cookies. Place on lightly greased cookie sheet about two inches apart. Press lightly. Bake for 20 minutes for large cookies or 12-15 minutes for small.

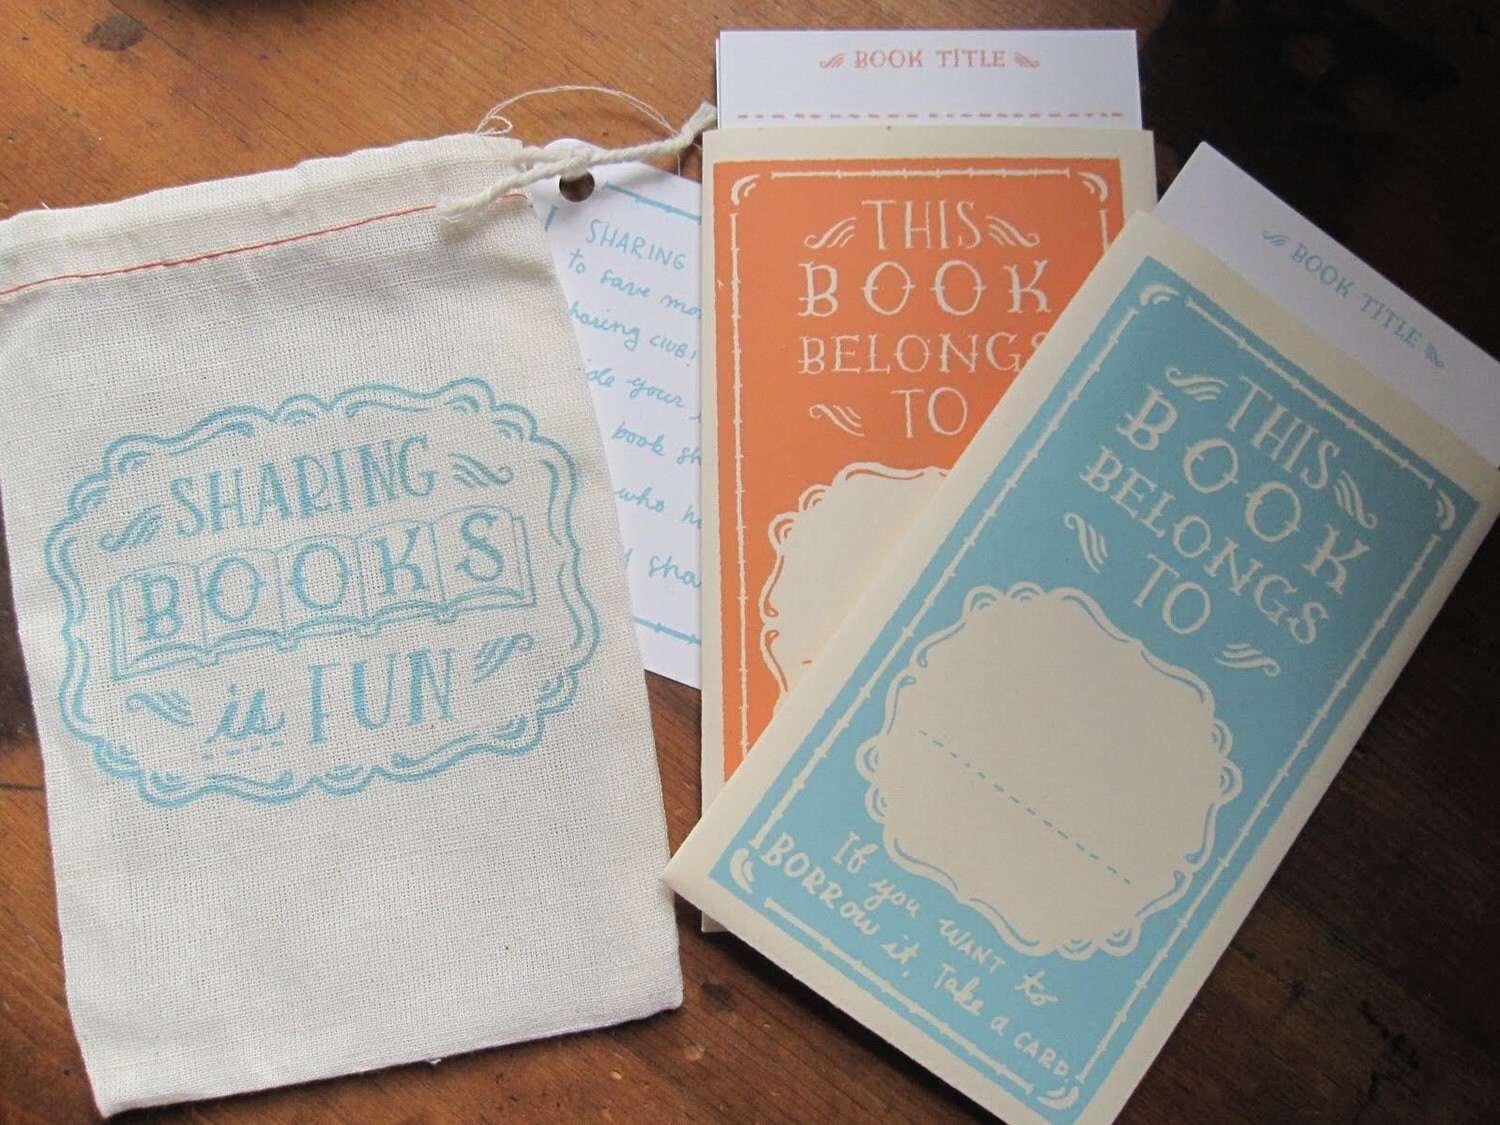
Personal Library Bookplates


{Etsy find} I think this is a great idea and they are so pretty!

Personal Library Bookplates


Personal Library Bookplates

zoom


Personal Library BookplatesPersonal Library BookplatesPersonal Library Bookplates


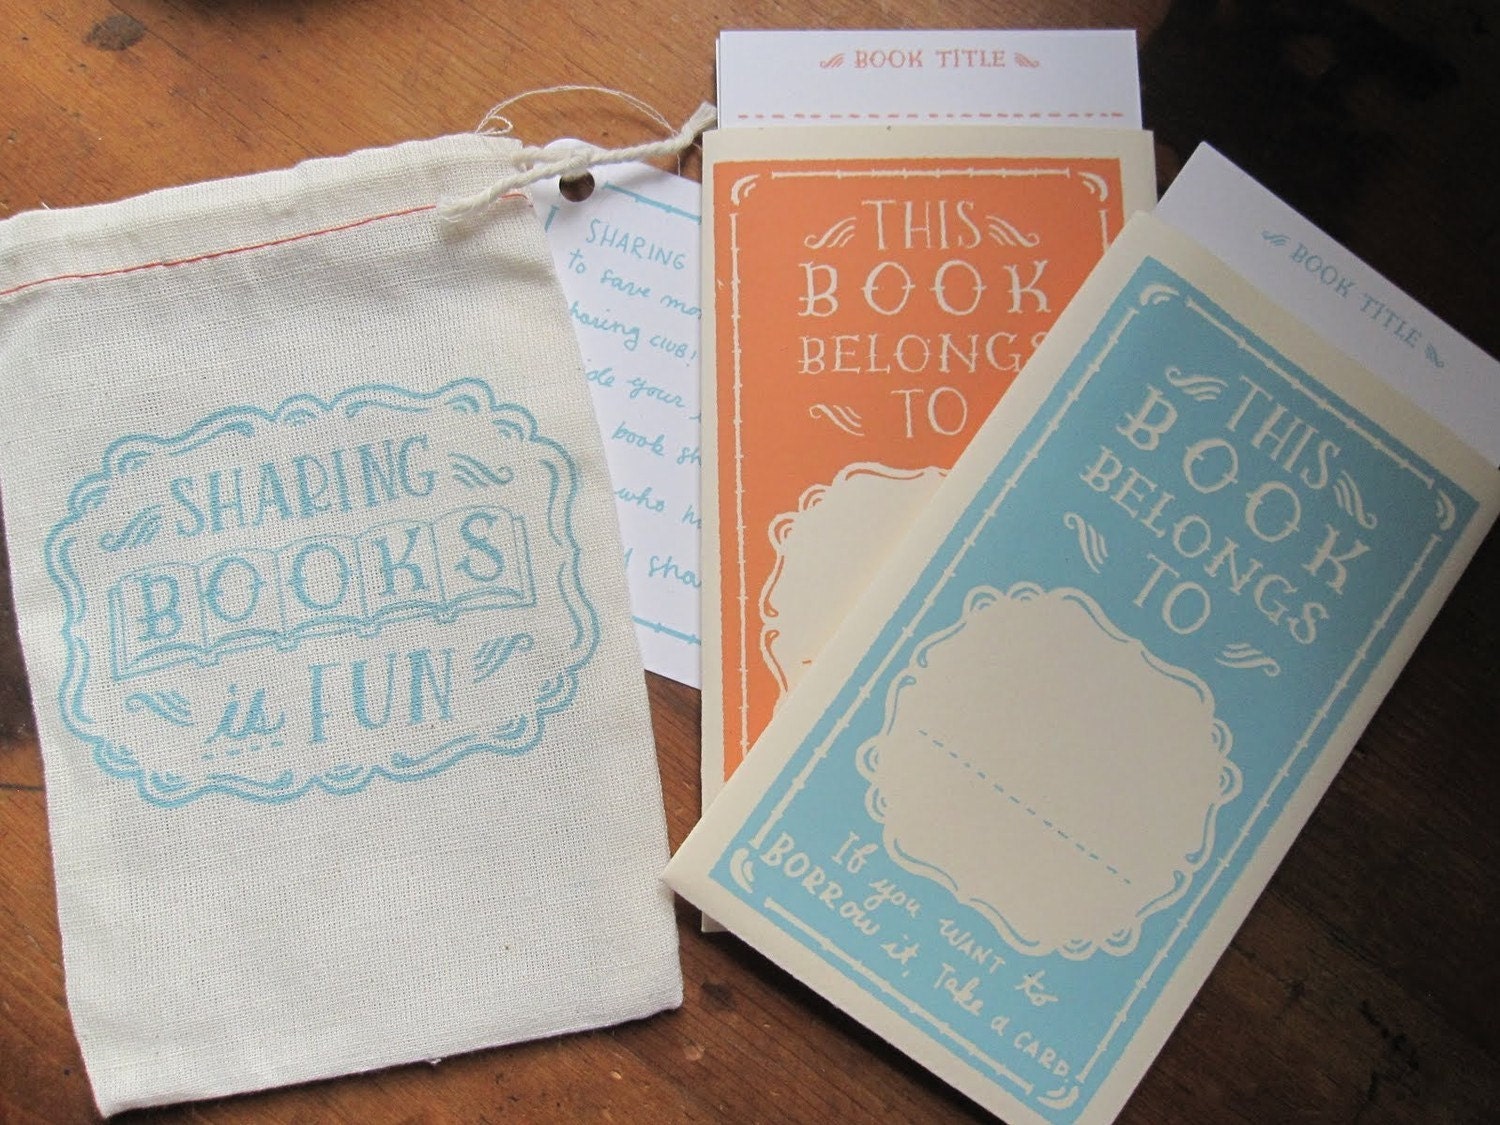
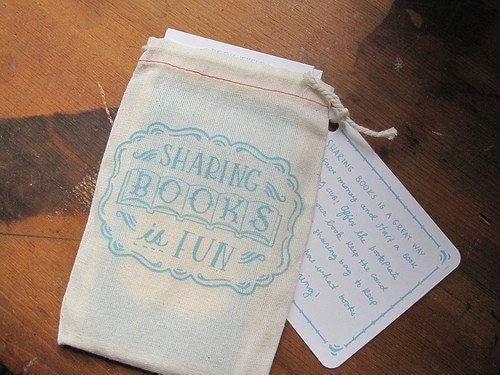
Sharing books is a great way to save money and start a book sharing club! Now you can keep track of who has what book with your own personal library bookplate. Affix the bookplate inside your book and keep the card in the book sharing bag to keep track of who has what books. 

Each personal library bookplate is a complete set of 1 hand printed linen bag, 3 hand printed bookplates and 6 library cards.

Book Sharing Linen bag - 3.75" w x 5.75"h
Bookplate - 3.25"w x 5.325"h

Happy Book Sharing!

I am happy to combine shipping with other purchases.

Please note that colors may slightly vary depending on your monitor's color and contrast settings.

Thanks for looking!

Mary Kate

© 2010 Mary Kate McDevitt


Tuesday, November 2, 2010

Perfect Teriyaki Sauce

This recipe was given to me by a cook at the historical Sheraton Moana Surfrider in Waikiki. It is so simple and tastes perfect.

Equal parts:

  • soy sauce

  • pineapple juice (or any fruit juice)

  • Brown sugar


Then add fresh ginger and green onions.

For best results, marinate for a full day.

That is it, EASY.

Monday, November 1, 2010

Eco-friendly tip for a longer lasting carved pumpkin


-greenTIP-

  • soak carved pumpkin in a 50/50 solution of borax and water then dry thoroughly

  • Everyday spray a little borax solution in pumpkin and around the carved area


-greenTIP-

  • Don't throw away the seeds, place them in a bird feeder, or leave them out for the squirrels

  • We roast and salt our seeds (yummy)

  • Also, Compost your pumpkin after halloween

tea party

The birthday girlThe birthday girl 


My Toddler is now a young girl; she just turned 6 years old. Alivia wanted to have a tea party for her birthday so I found a cute little bistro, New Englund’s Bistro and Tea Room in here in Concord, CA. The tea party started off with a presentation about tea etiquette and what a “lump of sugar”  is. The girls enjoyed tea, lemonade, finger sandwiches, cupcakes, a story about a tea party and feeling all grown up in their pretty tea dresses.

The invitation to the birthday party was an adorable tea pot. I used a pattern from Unforgettable Invitations by Melissa Giles. My daughter chose several different papers and embellishments and helped with the assembly.

Layout 1Here is a downloadable PDF pattern: teapotpattern for the tea pot, including a shopping guide for 12 invitations that I added.  The best part about this book is that there are so many different ideas, but your paper and embellishment choices and maybe combining some of her different ideas make your cards unique. It really will spark your imagination.


Tea Pot Invitation


from Unforgettable Invitations by Melissa Giles

MATERIALS


  • Patterned Paper: 6 letter size sheets

  • Solid Color Card Stock: 9 letter size sheets

  • Vellum Paper: 3 sheets letter size

  • Envelopes to fit 7˝ x 7˝ tea pot: 12

  • Adhesive Glue Roller Applicator

  • Scissors

  • X-Acto Blade to cut tea pot inside handle

  • decorative embellishments


INVITATION LAYOUT


Layout your invitation in your layout program. You can fit 4 per letter size paper.
The size of the invitation is 3˝x 3¾˝. The text area is approximately 2¾˝ x 3˝

  1. Draw a box 3˝w x 3¾˝ h
    tip:  The box lines should be faint so that you can see them just enough to cut, but won’t be too noticeable if some of the line shows after cutting.

  2. Start your text about ½˝ from the top to leave room for the lid which will cover that area
    Hint:  Leave space on the sides, you don’t want to accidentally cut any text off.

  3. Once you have your invitation just right, Copy and Paste so that you have 4 invitations on your page.

  4. Print on vellum paper


CUTTING


  1. Cut 4 templates:

    • tea pot front (cut along the dotted line)

    • teapot back (do not cut along the dotted line)

    • lid

    • invitation back


    (You won’t be making a template for the invitation front piece because you printed it directly on the vellum.)
    Tip: Use an X-Acto blade to cut the inside of the tea pot handle

  2. Trace templates on to back side of paper.

    • 2 tea pot fronts and 2 tea pot lids per patterned paper

    • 2 tea pot backs per solid paper

    • 4 invitation backs per solid paper

    • 4 invitation fronts per vellum paper


  3. Cut all pieces.


ASSEMBLY


INVITATION


  1. One line of glue on top  of  vellum invitation front, line up and attach to invitation back

  2. Glue lid to invitation back placing over the invitation front


TEA POT

Glue only edges of front to the back leaving space in the center for the invitation to slide in and out.

FINISHING


Slide invitation into the tea pot and leave as is or finish with a pretty embellishment.

fresh cut flowers


-TIP- I just heard a great tip for your fresh cut flowers. Most of us have heard to cut off the ends of the stems at an angle . . . also do this under running water. The idea is that the first breath that the flowers should take is water not air.